
2237 products

Latte - Budget PLA Filament - 1.75mm, 1kg
$19.99
Pink - Budget PLA Filament - 1.75mm, 1kg
$19.99
Coffee - Budget PLA Filament - 1.75mm, 1kg
$19.99
Purple - Budget PLA Filament - 1.75mm, 1kg
$19.99
Olive Green - Budget PLA Filament - 1.75mm, 1kg
$19.99
Yellow - Budget PLA Filament - 1.75mm, 1kg
$19.99
Orange - Budget PLA Filament - 1.75mm, 1kg
$19.99
Mint - Budget PLA Filament - 1.75mm, 1kg
$19.99
Red - Budget PLA Filament - 1.75mm, 1kg
$19.99
Light Blue - Budget PLA Filament - 1.75mm, 1kg
$19.99
Dark Blue - Budget PLA Filament - 1.75mm, 1kg
$19.99
Grey -Budget PLA Filament - 1.75mm, 1kg
$19.99
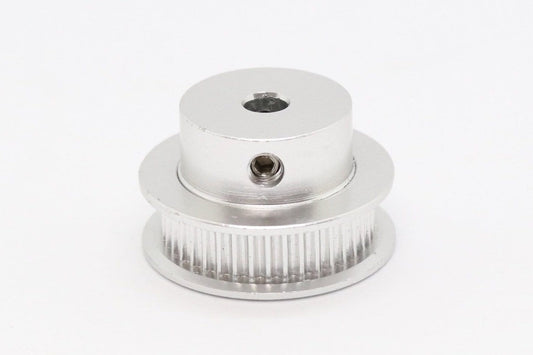
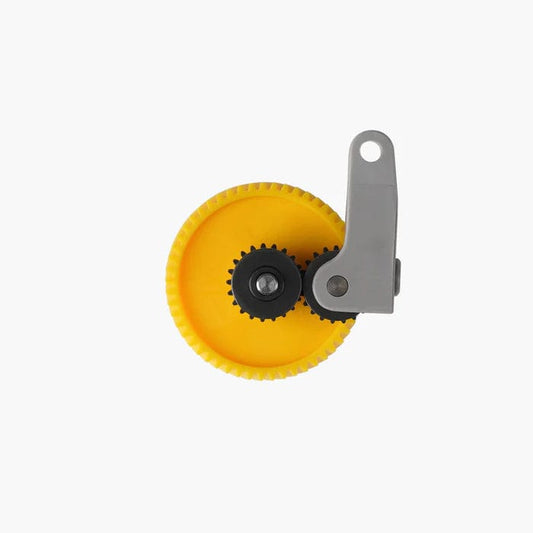
GT2-6 Timing Belt Pulley 40T (Inner Bore 5mm)
$4.95
was $6.95
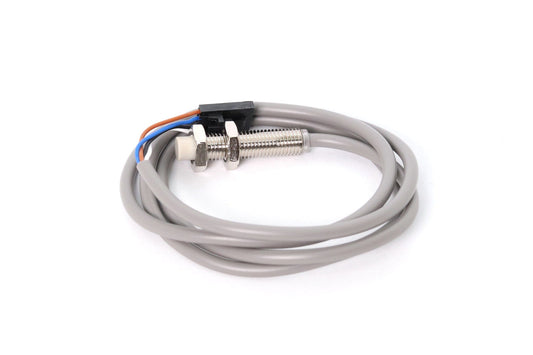
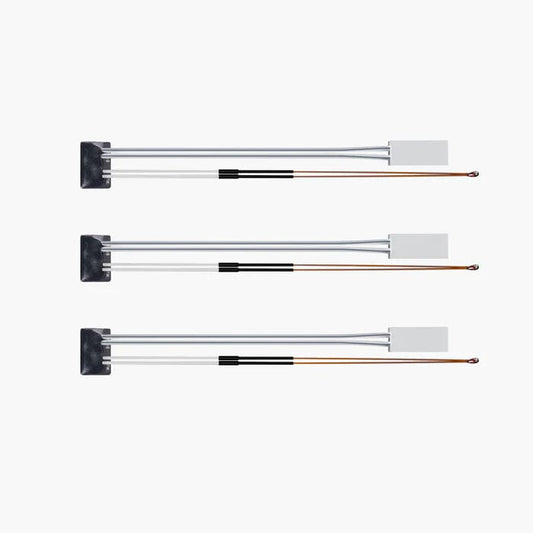
FYSETC Prusa i3 MK3 PINDA V2 Auto-Leveling Sensor
$11.96
was $15.95
Official Wanhao D8 2K driver - CLEARANCE
$17.96
was $65.95
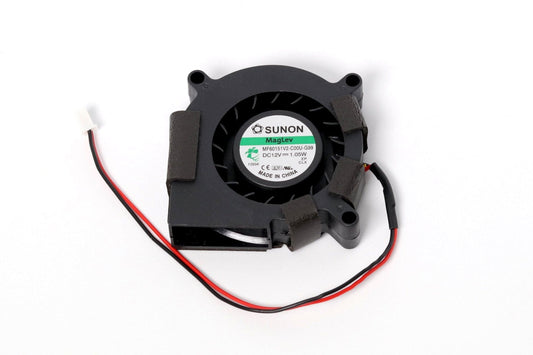
Sunon 6015 Blower Fan 12v
$10.40
was $16.95
Formbot Troodon Heatsink
$5.49
was $10.95
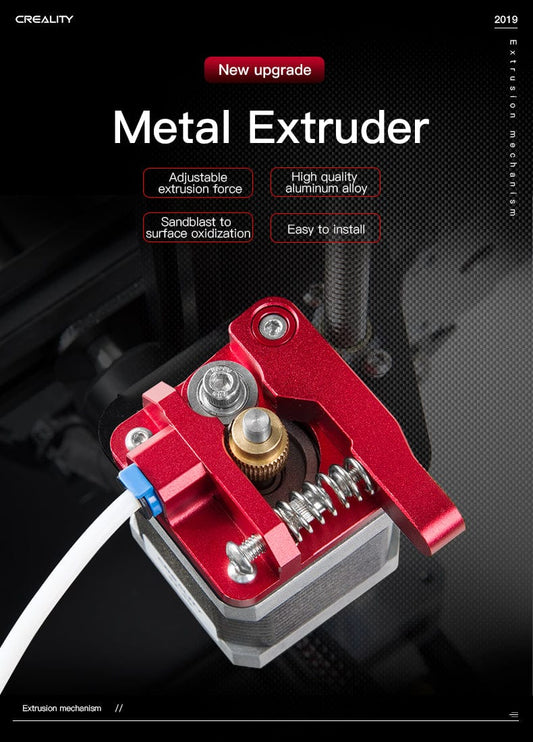
Official Creality All Metal Extruder Mechanism
$14.95
was $19.95
Longer3D LK1/LK2 LCD Touch Screen Cable
$1.50
was $9.95

Raspberry PI V2 Camera Extension Cable 1m
$8.95
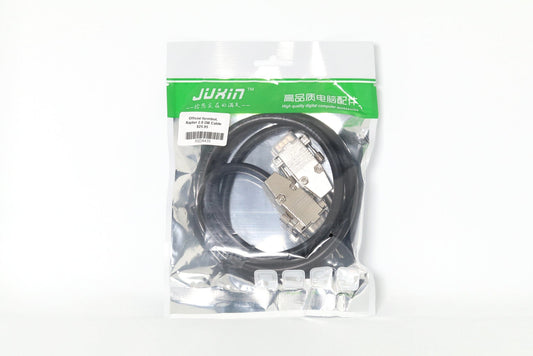
Official Formbot Raptor 2.0 DB Cable
$13.78
was $25.95
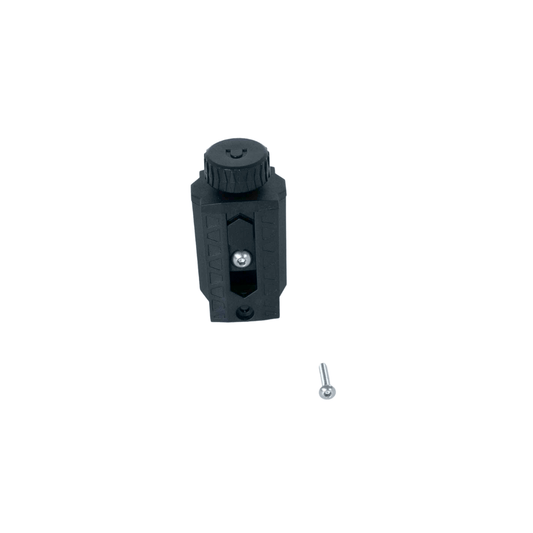
Official Creality CR-6 SE X-Axis Adjuster
$6.26
was $9.95
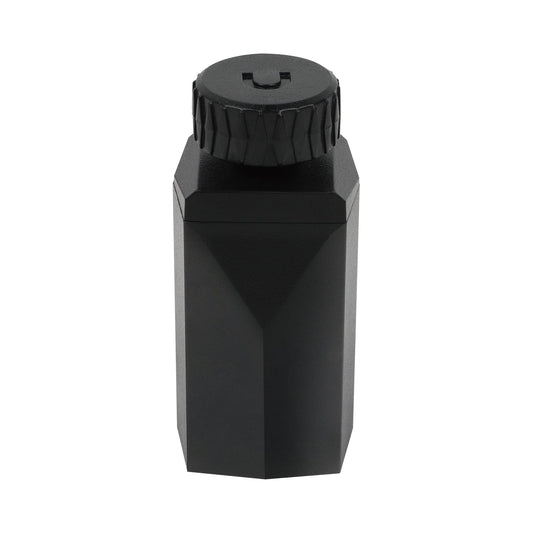
Official Creality Ender 3 V2 Neo X Axis Belt Tensioner
$8.95
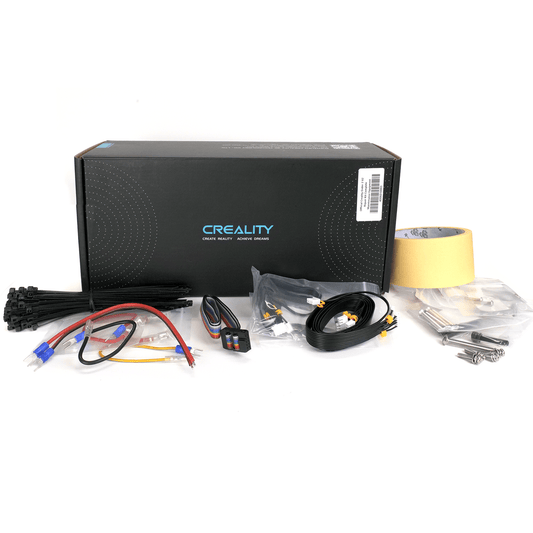
Official Creality Ender-3 V2 Repair Kit Complete Maintenance Equipment
$65.95
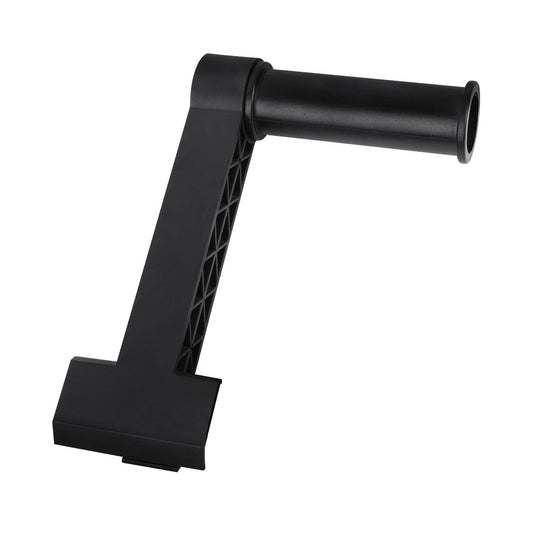
Official Creality CR-M4 Spool Holder
$20.95
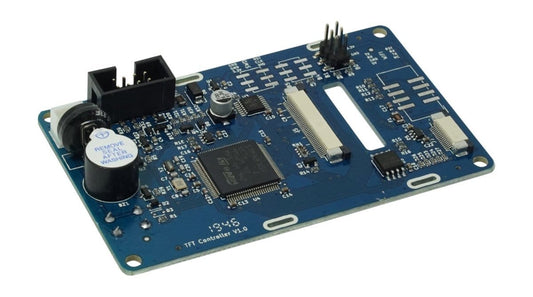
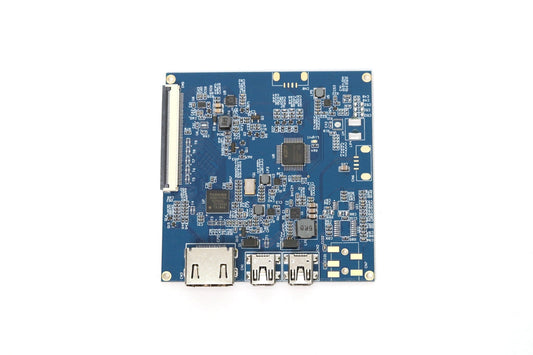
Artillery TFT Control Board
$49.95

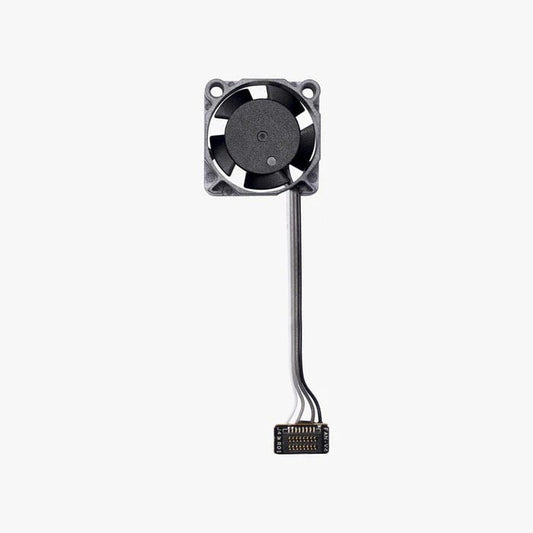
Bambu Lab Cooling Fan for X1C Hotend
$15.99
Bambu Lab Cooling Fan for P1P,P1S Hotend
$15.99
Bambu Lab Hardened Steel Extruder Gear Assembly
$25.99
Bambu Lab Ceramic Heater & Hotend Thermistor for P1P,P1S
$31.99

Bambu Lab Ceramic Heater for X1C Hotend
$17.99

Bambu Lab Silicone Sock for Hotend
$8.99