
LEARNING HOW TO RESIN PRINT IN 2025
I have a bit of a confession to make: I had never used a resin printer until now. In this post I’ll walk you through my first-time experience unboxing, setting up, and successfully printing with the Elgus Saturn 4 Ultra 16K — sharing the practical steps, surprises, and tips I picked up along the way. This is based on my hands-on run and the short tutorials I watched beforehand, and I’ll cover every key step from unboxing to post-processing.
Why try resin printing?
After years of working with FDM printers — from hobby Ender 3s to large industrial machines — I wanted to see what resin printing felt like in 2025. Resin has long been known for higher detail (and more mess), but modern machines and workflows have matured. I was curious how approachable resin would be for someone comfortable with FDM but brand new to vat photopolymerization.
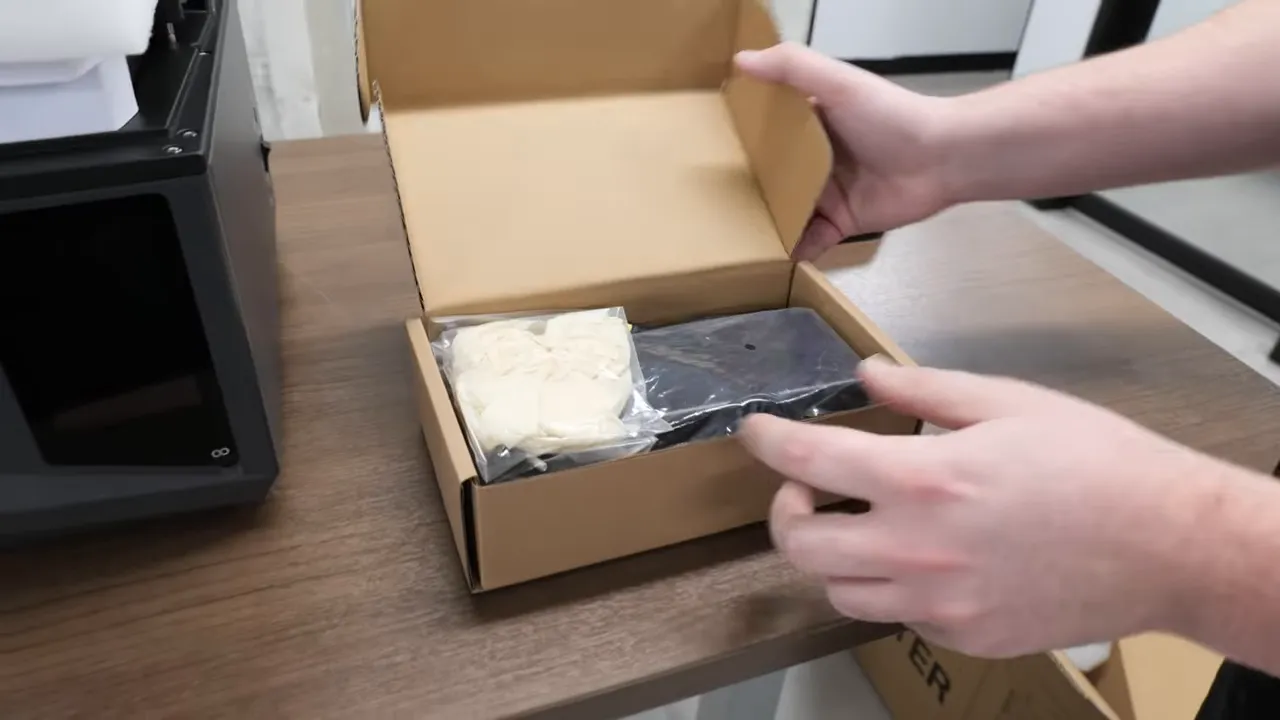
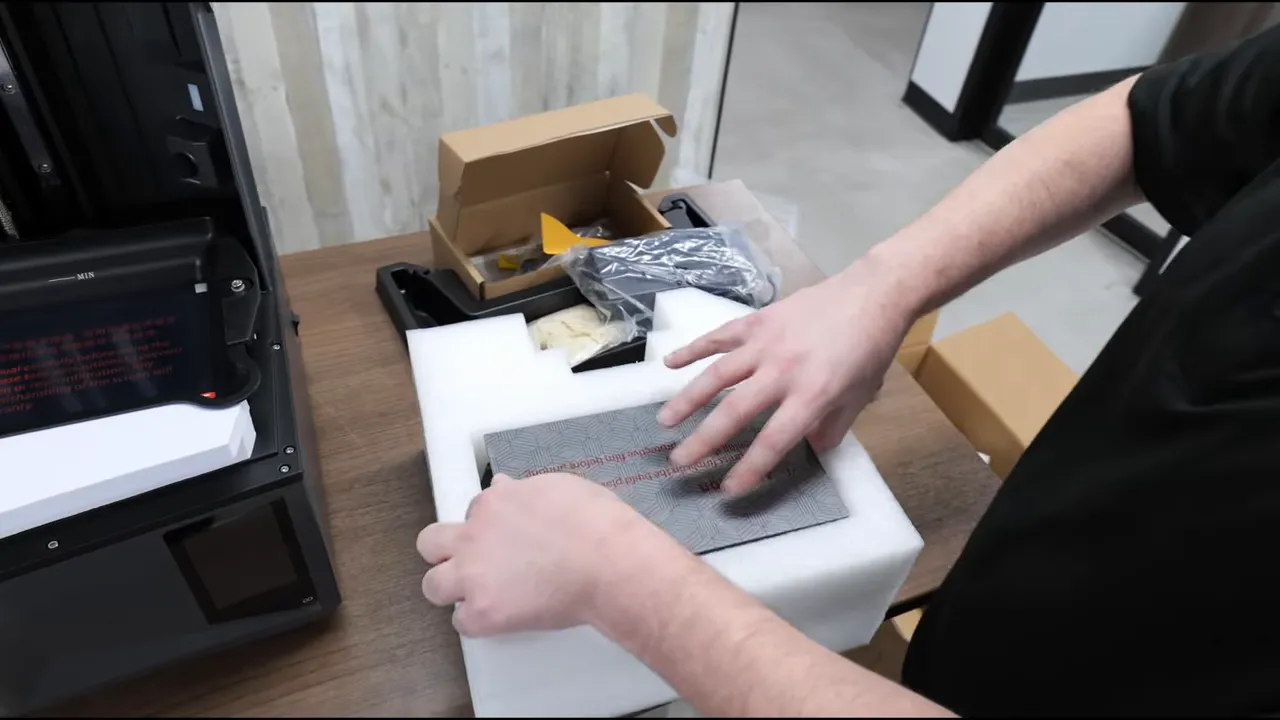
Unboxing and what’s in the kit
The printer arrived mostly assembled and well-packed. The foam inserts and compact layout made the unboxing straightforward. The accessory kit contained everything you need to get started:
- Power cord and power connector pieces
- Build plate
- Drip tray
- Gloves and disposable masks (wear them!)
- Scrapers and a filtering funnel for used resin
- USB drive and a small tool kit
One basic rule I already knew: always wear gloves when handling uncured resin. The kit made it easy to follow that rule from the start.
Printer features that make life easier
The Saturn 4 Ultra I used ships with a number of beginner-friendly features that matter during setup and daily operation:
- Hinged cover/door — so you don’t have to lift the whole lid off and set it aside.
- AI camera — designed to detect failures during a print run.
- Auto-leveling build plate — simplifies first-time setup.
- Tilting/rocking vat — helps releases between layers and can reduce suction on the FEP/screen.
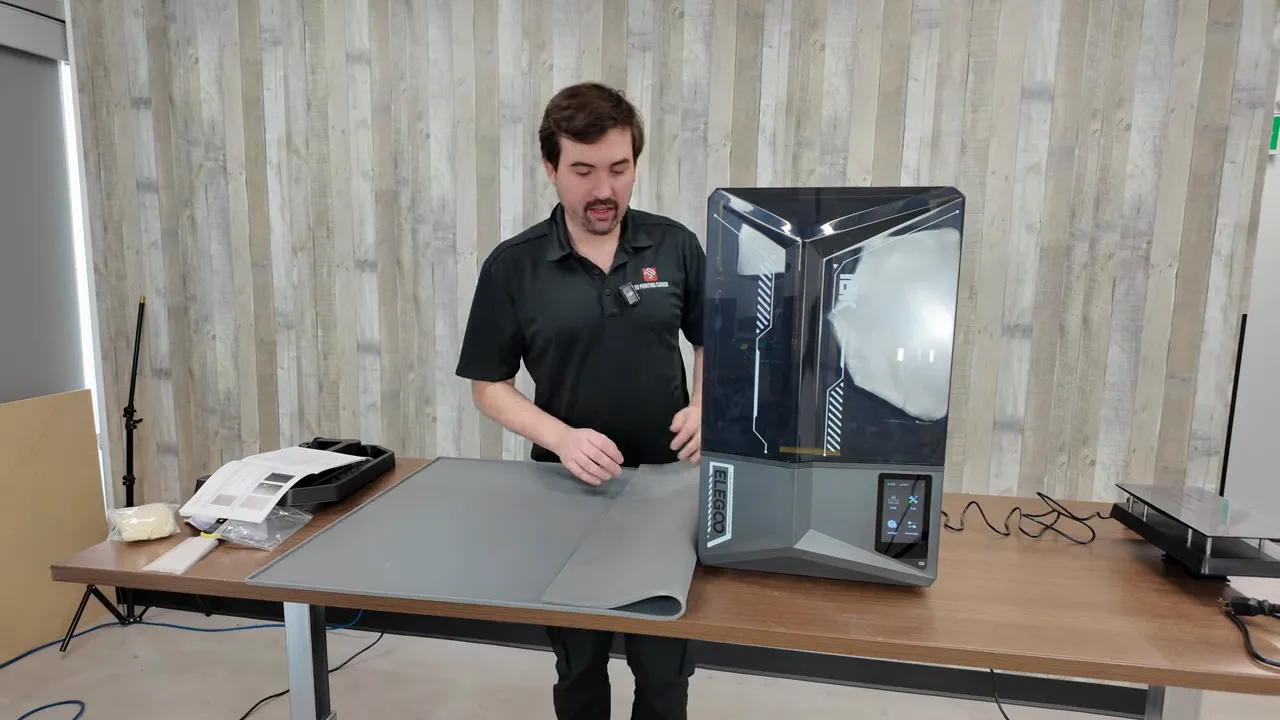
Quick setup — what I actually did
My setup process was simple:
- Unbox and install the build plate (it bolts on quickly).
- Replace the resin tank screws with the supplied knobs for quick removal.
- Power on the printer and apply any firmware updates (very important — firmware updates are common).
- Fill the vat with resin and run the automatic calibration procedure.
Pro tip: lay down a protective mat under your workspace — resin can get messy and these mats make cleanup easier.
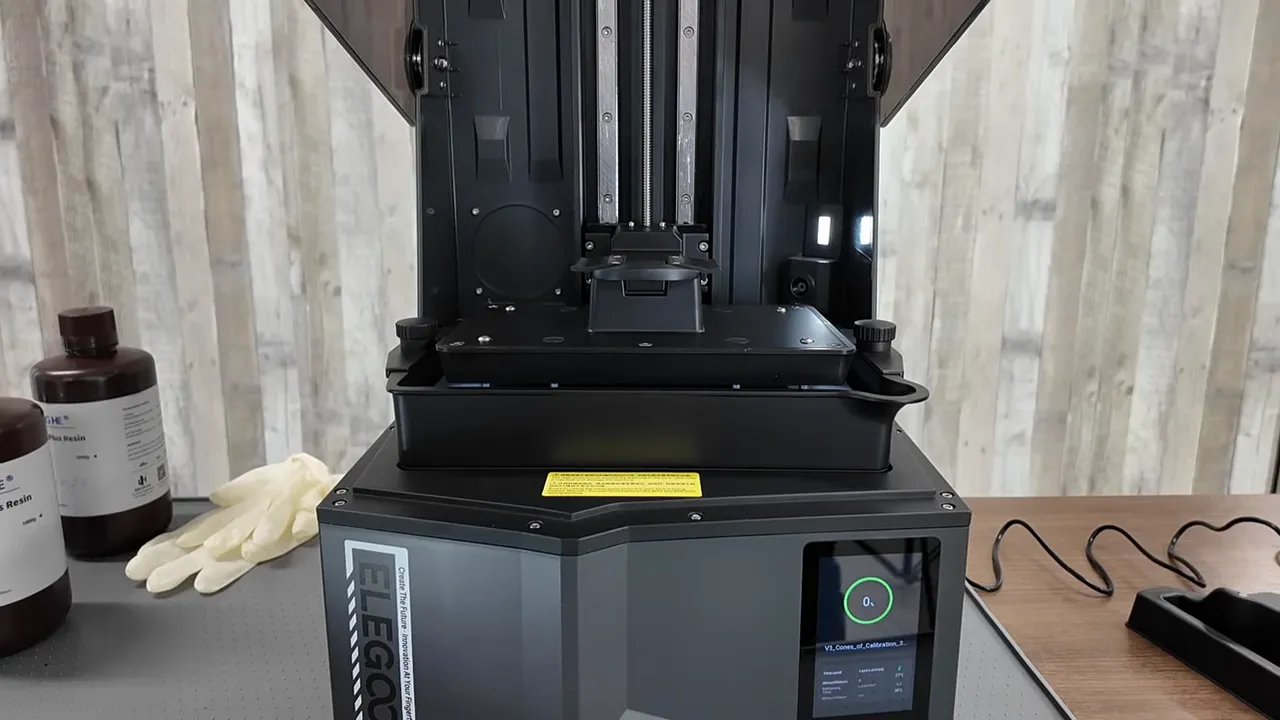
First prints: cones of calibration
The recommended first print was a "cones of calibration" test. Think of it like a first-layer benchy or a PID tune, but for resin exposure tuning. The cones help you find an exposure value where features on the “success” side resolve cleanly while the “fail” side behaves as expected.
My workflow for the cones was:
- Load the cones into my slicer and send to the printer.
- Let the machine print — note that resin prints are opaque during printing, so you won’t see layer-by-layer progress like with FDM.
- Wash the print to remove uncured resin, dry it, then fully cure in a UV chamber (or sunlight) for handling.
- Inspect cones and adjust exposure if needed (I lowered exposure slightly because a couple “fail” cones printed when they shouldn’t have).
Exposure tuning is one of the main things to focus on initially — once you have a solid baseline you can fine-tune for different resins, layer heights, and detail needs.
Preparing my first detailed model
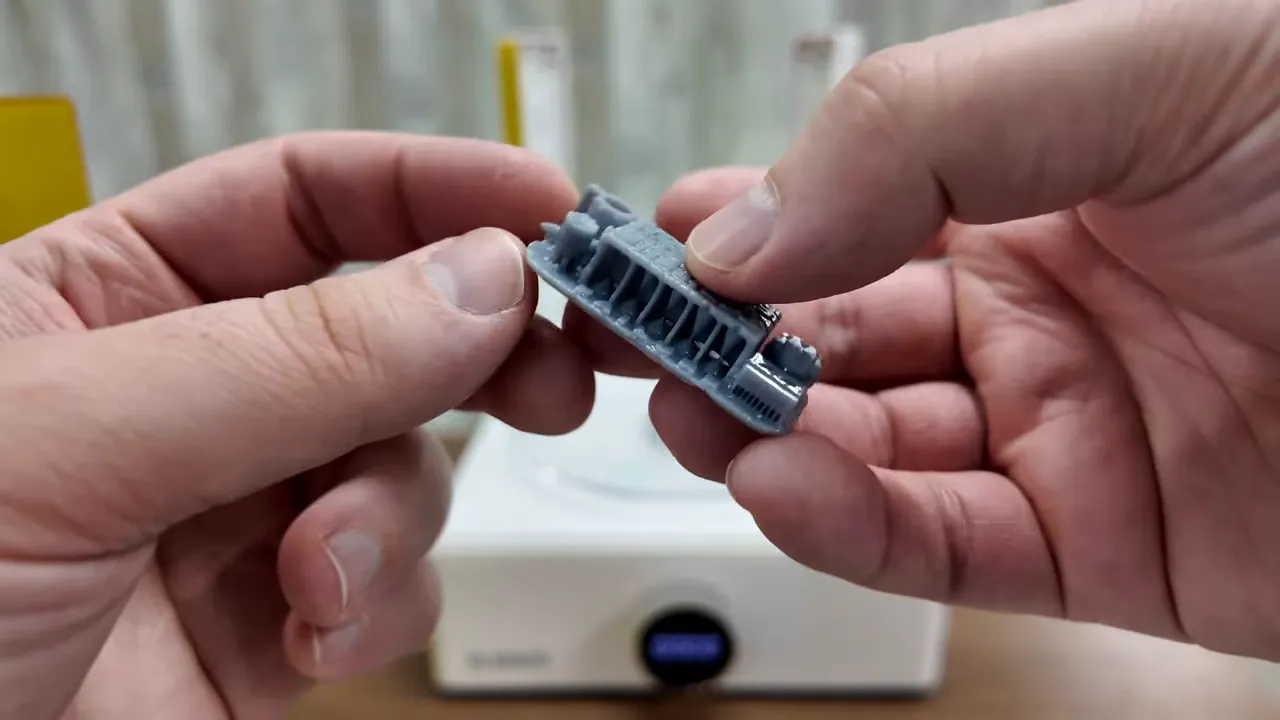
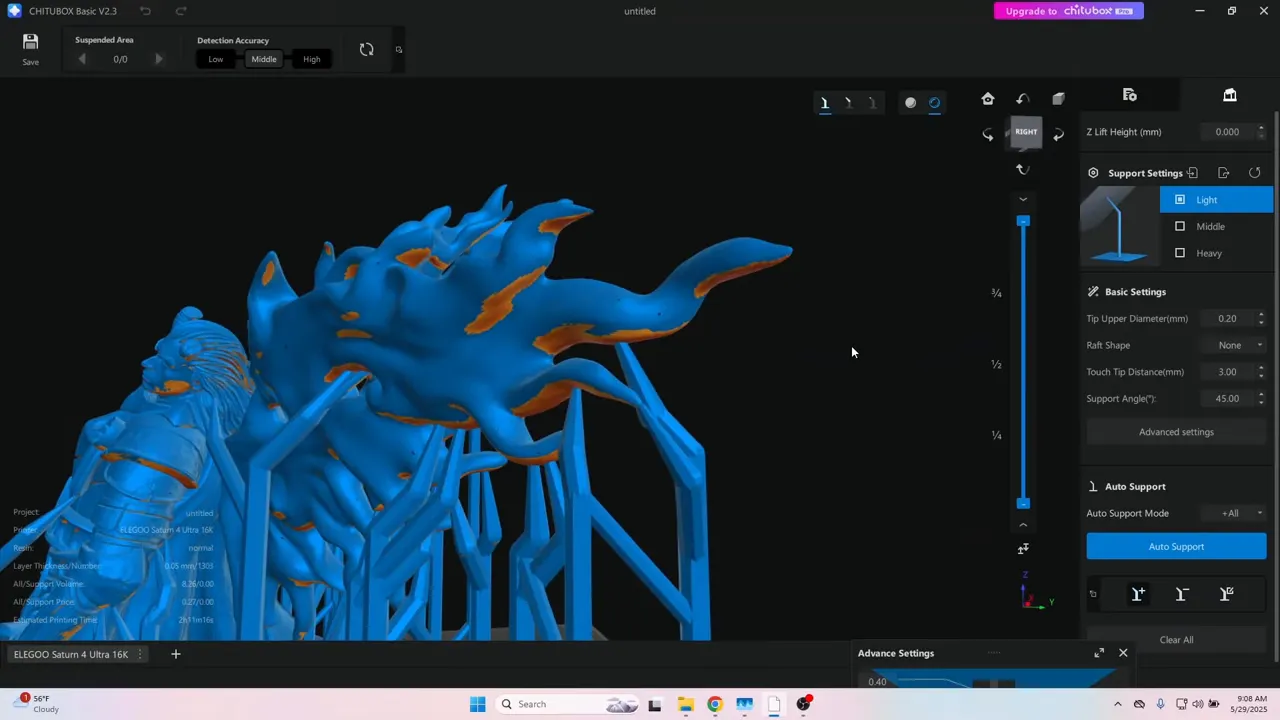
For my first real project I grabbed a miniature from Flesh of Gods. Many models come pre-supported, but I checked and added supports where I thought they'd help:
- Under wings and long thin features (like swords).
- Under the feet — small contact points can fail without adequate supports.
- Consider hollowing larger models to save resin and reduce suction; if hollowing, add drain/vent holes to avoid trapped, uncured resin inside.
With resin, there’s a tug-of-war between the plate (that wants to hold the print) and the screen/FEP (that releases the print). Too much adhesion and parts won’t release cleanly; too little and they’ll fail to stick to the build plate. Support placement and exposure tuning help balance that.
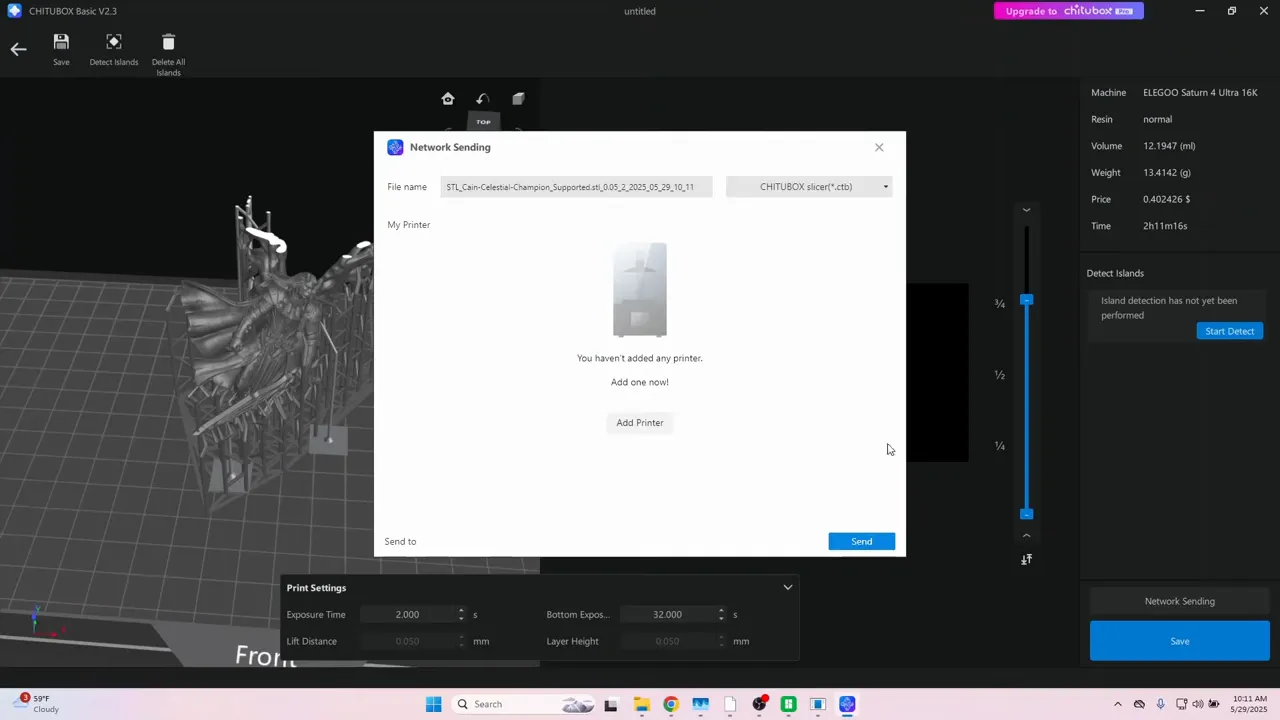
Printing and post-processing
Once sliced I took advantage of the printer’s wireless upload and sent the job over. The print completed in a couple hours and looked promising to my untrained eye.
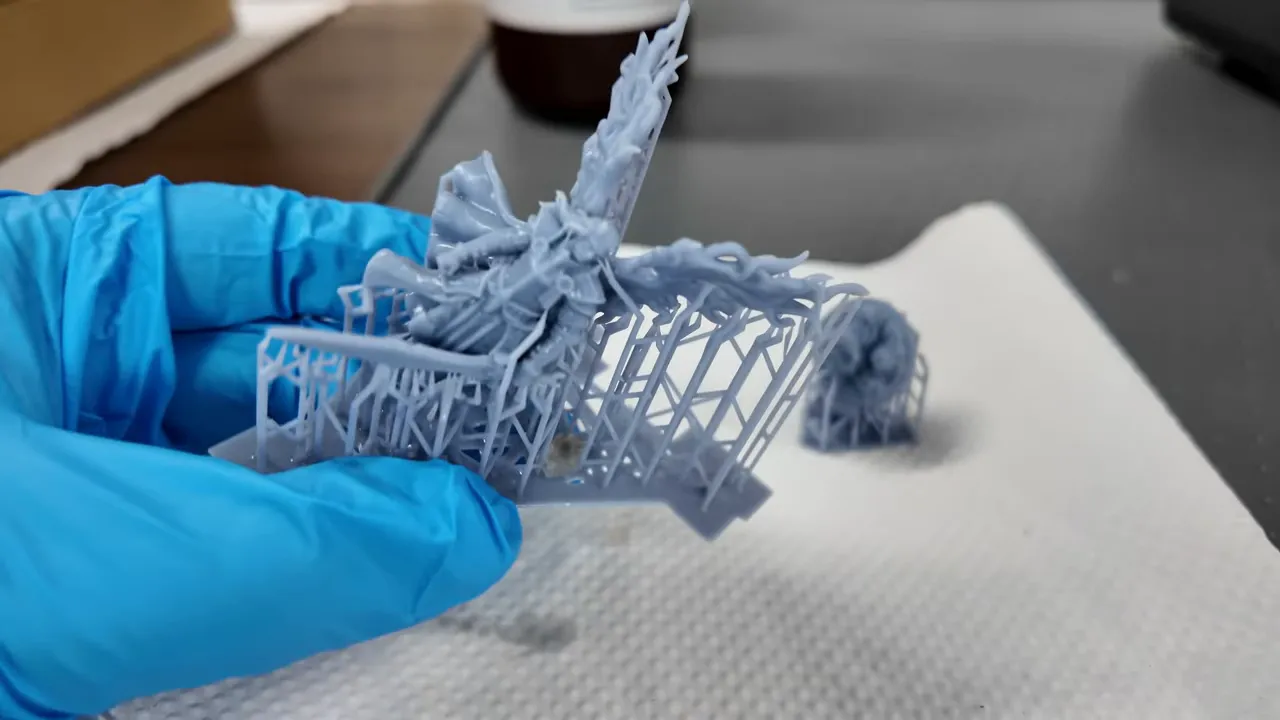
Post-processing steps I followed:
- Remove the print and wash it in a cleaning vat to remove uncured surface resin.
- Let the part dry briefly (important before curing).
- Remove supports before final curing — curing with supports on can make them much harder to remove later.
- Fully cure the part in a UV chamber (or sunlight/UV lamp). Use eye protection if using direct UV light.
Impressions: detail, painting, and difficulty
The results were impressive. Resin delivers levels of surface detail that are extremely difficult to achieve with FDM — layer lines are essentially gone, fine textures and tiny features show up crisply, and supports typically come away cleanly with minimal damage.
For hobbyists who paint miniatures (Dungeons & Dragons, Warhammer, etc.), resin prints are often ready for primer and paint with far less prep than FDM parts, which usually require extensive sanding and filling.
"There's no layer lines at all. They're just non-existent."
Was resin printing harder than FDM? Not really. It’s different and involves a few more procedural steps (safety gear, washing, curing) but not strictly more difficult. Follow the procedures, keep your workspace clean, and use the supplied PPE — gloves and a mask — and the workflow is straightforward.
Safety and practical tips
- Wear nitrile gloves whenever you touch uncured resin.
- Use masks or respirators when recommended — some resins can be odorous or irritant.
- Use a mat to reduce spills and make cleanup easy.
- Remove supports before final curing when possible.
- When curing with UV light, avoid direct eye exposure and use appropriate eye protection.
- Hollow larger models and add drain holes to avoid uncured resin pockets and to save material.
- Always install firmware updates before starting to print — they can fix notable issues.
Final thoughts and recommendation
After my first run with the Elgus Saturn 4 Ultra 16K, I’m sold on trying more resin projects. The setup was quick, the learning curve manageable, and the print quality is far beyond comparable FDM parts for fine detail. If you’ve been thinking about getting into resin printing — or upgrading — this model offers an approachable, beginner-friendly entry point while still producing professional-quality results.
If you’re coming from FDM, expect a few new steps in your workflow, but don’t let perceived complexity hold you back. Follow safety precautions, tune your exposure with simple tests like cones of calibration, and you’ll be rewarded with remarkable results.
Want to try what I did?
- Start with a calibration print (cones) to dial in exposure.
- Check and add supports as needed — especially for wings, swords, and tiny feet.
- Wash, dry, remove supports, then UV cure.
- Prime and paint — the results are often ready right away.
Happy printing — I can’t wait to do more resin projects and keep refining the workflow.
Additional resources and checklist
There were no external links provided with your request, so here are compact, search-friendly resources and a practical checklist you can append to the post or use to find authoritative guides online.
- Suggested search terms: "Saturn 4 Ultra manual", "resin printing safety", "exposure calibration cones", "how to hollow models drain holes", "resin post-processing UV cure"
-
Quick checklist:
- Wear nitrile gloves and a mask/respirator (when recommended)
- Lay down a protective mat under your workspace
- Install firmware updates before printing
- Run cones or exposure tests for a baseline
- Hollow large models and add drain holes to save resin
- Wash, dry, remove supports, then UV cure
-
Troubleshooting tips:
- Adhesion problems: tweak exposure or add/remove supports; check build plate leveling
- Prints failing to release: reduce exposure or alter support/contact geometry
- Tacky cured prints: extend UV curing time or check your UV source intensity
- Visible defects at fine detail: lower layer height or experiment with different resin
FAQ (short)
- Is resin harder than FDM? Different, not necessarily harder—more steps (safety, washing, curing) but approachable with the right PPE and procedures.
- Can I cure in sunlight? Yes, but cure times vary; UV chambers and lamps are more consistent and faster.
- How do I save resin? Hollow large models and add drain holes to avoid trapped uncured resin.
Use the suggested search terms above to find official manuals, safety datasheets (SDS), and community guides that match your printer and chosen resin for 3d Printers in the USA.