
Desktop 3D printing is no longer a niche hobby. Affordable machines, easier software and a global library of shared designs mean a single printer can solve dozens of small, repetitive frustrations around the house. Modern desktop 3D printers paired with versatile materials like PLA filament or PETG filament make practical home manufacturing accessible to almost anyone. This guide explains what modern home 3D printing does best, concrete examples you can print today, how to get started, and the pitfalls to avoid.
What is desktop 3D printing and who benefits?
Desktop 3D printing builds objects layer by layer from plastic filament. It is best suited to functional small parts, organisation aids, clips, brackets and customised housings. People who benefit most are homeowners, renters, makers, parents and small-business owners who want quick, custom solutions without waiting for factory-made parts.
Why it matters in 2026
- Accessibility: Entry-level printers like Bambu Lab 3D printers and Prusa 3D printers are cheaper and easier to use than ever.
- Shared design ecosystem: Thousands of ready-to-print models are available, many designed to be customised.
- Repair and customise: You can replace small broken parts or alter a design to fit your exact needs.
- Reduced waste: Print only what you need instead of buying mass-produced items that may not fit.
Everyday problems 3D printing solves
1. Workspace organisation
Custom organisers fit your desk, tools and layout in ways store-bought bins cannot. Modular systems let you add or rearrange bins as needs change.
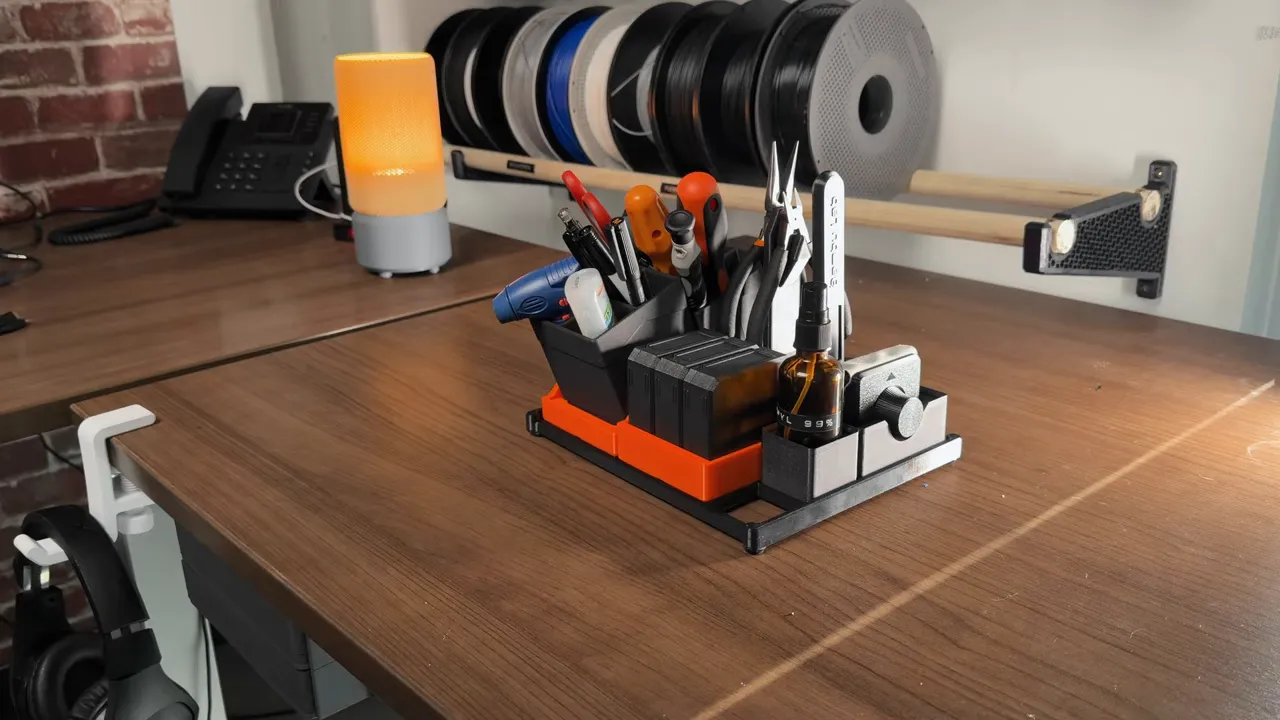
- Tool bins and Grid systems: Modular baseplates and small bins keep screwdrivers, pens and bits neatly separated.
- Laptop stands and brackets: Custom stands raise screens to better eye level and free space underneath for storage.
- Under-desk shelves: Slim drawers or trays that mount under the desk reclaim floor space and keep cables out of sight.
2. Cable management and connectors
Cables that never stay put are an easy fix. Print clips, holders and strain-relief mounts sized for your cables.

- Single cable holders mount to surfaces to route wires neatly.
- Flexible TPU filament cable ties are reusable and gentle on cords; TPU prints require temperature and speed tuning but are a low-cost alternative to commercial ties.
3. Hooks, mounts and storage
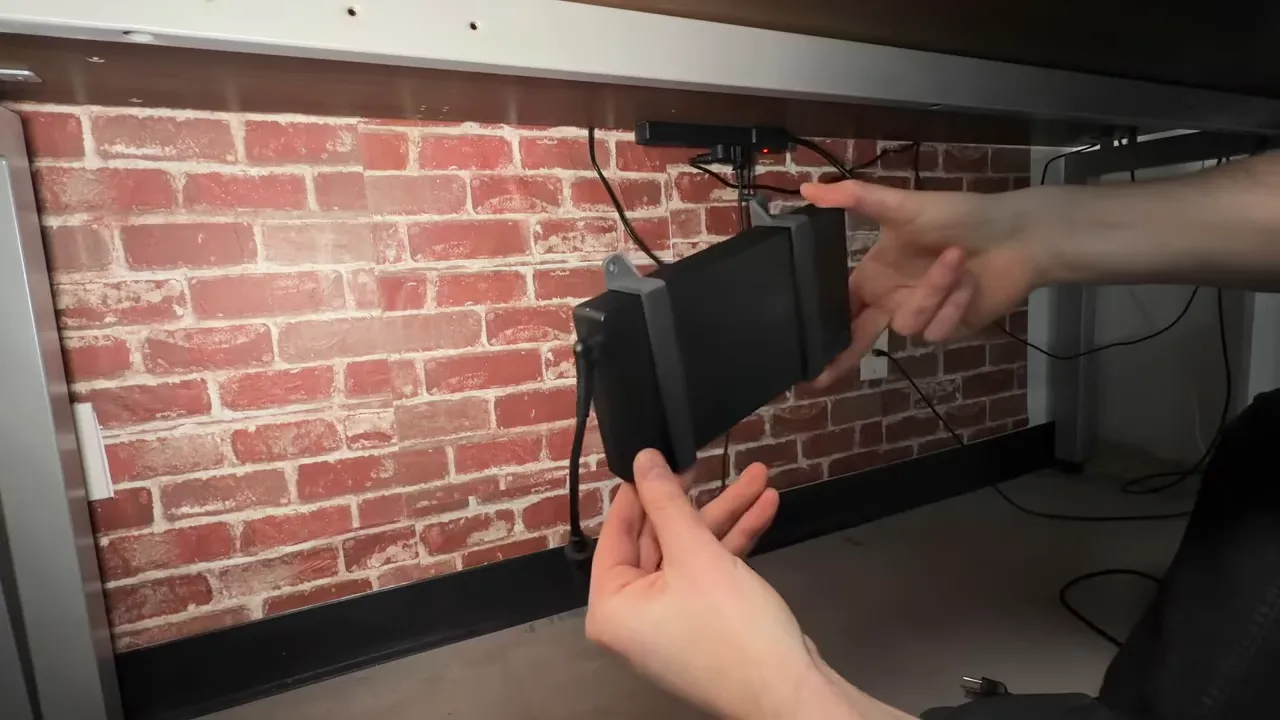
Print headphone hooks, bag hangers, wall mounts and bespoke brackets for chargers or adapters using durable materials such as PETG.
- Headphone hooks attach under desks or to shelves and can be printed in two-tone styles for appearance.
- Charger brackets hold laptop power supplies under the desk to remove desktop clutter and prevent cable tugging.
4. Small household fixes
From a missing knob to a toast rack spacer, many small parts are cheaper and faster to print than to buy. Print custom lids, clips, mounting plates and door stops using easy materials like PLA or stronger options like PETG.
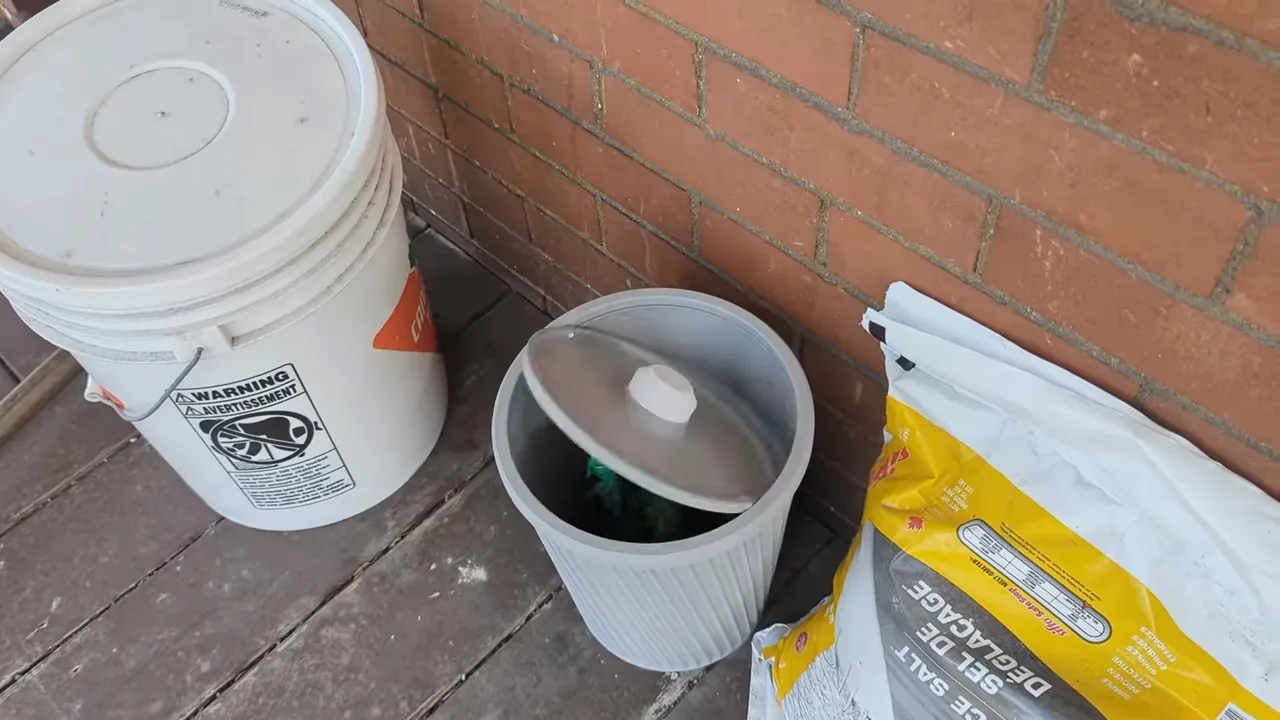
5. Pet and outdoor accessories
Practical items such as bag dispensers, leash hooks and simple holders can be printed in durable materials and sized exactly to your needs.
How to decide "Can I 3D print this?" — Quick checklist
- Is the part primarily plastic and small enough to fit your printer's build volume?
- Does the item need high strength, heat resistance or food safety? (Choose materials accordingly.)
- Would a printable design save time, money or improve fit compared with buying?
- Is a close fit or specific tolerance required? (Consider iterative test prints.)
Getting started: a practical beginner workflow
- Pick the right printer: For general household parts, a reliable FDM printer with a 200 x 200 x 200 mm build area such as many home 3D printers is sufficient.
- Choose filament:
- Find a model: Search online repositories for open designs (look for modular systems and “Grid” organisers that can be mixed and matched).
- Customise without CAD: Use browser-based customisers or simple editors to change dimensions or add mounting holes.
- Slice with sensible settings: 0.2 mm layer height, 20–30% infill for standard parts; increase wall line count for brackets and load-bearing pieces.
- Test and iterate: Print a small test piece to check tolerances, then adjust scale or fit before printing multiple pieces.
- Post-process: Clean up supports, sand fit surfaces, or use adhesives/heat-set inserts for threaded connections.
Design tips that improve fit and durability
- Account for tolerances: Add 0.2–0.5 mm clearance for sliding parts depending on printer accuracy.
- Orient for strength: Print load-bearing features so layers align with strength direction; avoid orientations that create weak layer interfaces under stress.
- Increase perimeters rather than infill to improve shell strength for clips and mounts.
- Use fillets at corners to reduce cracking and distribute stress.
- For threads consider heat-set or printed-in-place nut pockets rather than printing fine threads directly.
Common mistakes and how to avoid them
- Assuming a perfect fit: Tolerances vary by printer and filament. Always print a small test fitting before committing to a final print.
- Wrong material choice: PLA is brittle at high temperatures; do not use it for hot environments (near kettles, car dashboards). Use PETG or ABS alternatives where heat or chemical resistance is needed.
- Ignoring print orientation: Orientation affects both surface finish and strength. Rotate parts to minimise overhangs and maximise functional strength.
- Overcomplicating designs: Simple designs often work better. Break complex solutions into modular components to test and replace easily.
- Safety and compliance: Do not print items that require certified materials (baby bottles, long-term food contact) unless using food-safe, certified filaments and processes.
Costs, time and sustainability — realistic expectations
Printing takes time. A small bracket can be ready in under an hour, while larger modular organisers can take many hours or multiple prints. Material cost per item is usually low, but time and occasional failed prints increase overhead. Consider printing locally only what you need to reduce shipping and packaging waste.
Where to find designs and community support
Large repositories host thousands of freely shared models. Search for modular organiser systems, cable management, headphone hooks and charger brackets. Many communities also publish print profiles, assembly instructions and modification tips to help beginners succeed.
Why adopt the mindset "If I can print it, I will"
Adopting a design-first approach changes how problems are solved. Instead of searching stores for an imperfect product, you customise a fit-for-purpose solution. This creates independence from mass production cycles, enables repairs, and encourages creativity in daily living.
Quick starter checklist
- Choose a printer with at least 200 mm build volume
- Keep PLA and PETG on hand; add TPU for flexible parts
- Download one modular organiser and one cable holder to print first
- Print a 20–30 mm test piece to dial in tolerances
- Iterate: adjust design or print settings based on fit
Summary
Home 3D printers are practical tools for solving everyday annoyances: organising desks, managing cables, mounting accessories and repairing small items. With inexpensive printers, user-friendly software and a strong community of shared designs, many small household problems are now design problems you can solve at home. Start small, learn basic materials and tolerances, and gradually replace friction with custom solutions that actually fit your life.
Action plan — first three prints to try
- Small cable clip or cable holder to tidy a desktop cable run
- Under-desk headphone hook or charger bracket
- One modular tool bin or tray sized for your drawer